The Image Assignment
The objective? To use photographs and engravings of our choice to complete a set of tasks designed to hone our image editing skills. These tasks included cropping, resizing, repairing and restoring, colorizing, and vignetting.
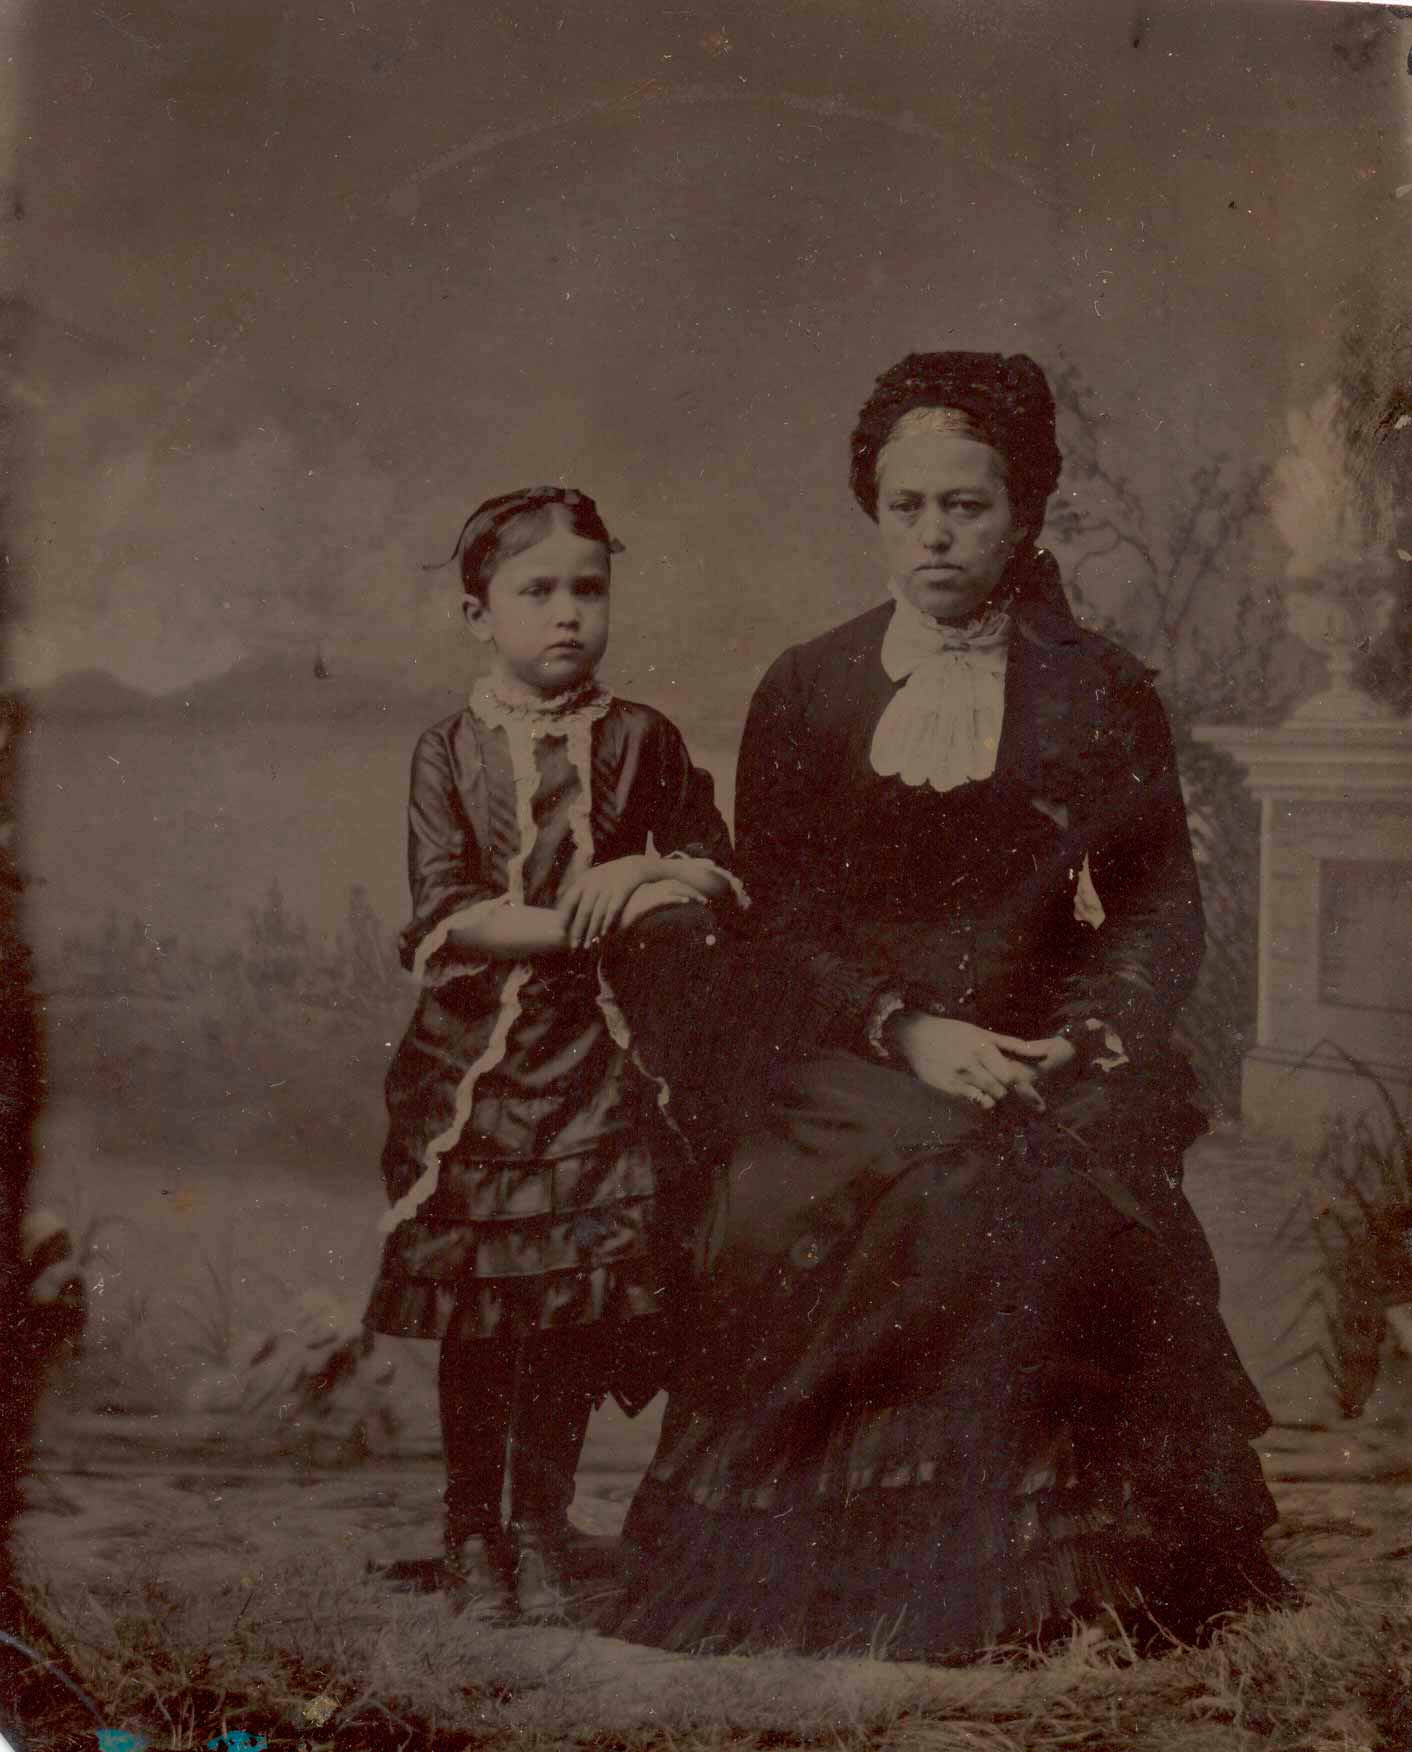
A Mourning Portrait, circa 1870
We do not know the names of the mother and child in this portrait. The woman’s hair has turned gray, but neither her hands nor face seem equally aged. We know that it is a mourning portrait, not just because they are dressed in black and wear sombre faces, but the backdrop shows us a tomb and funerary urn just behind and to the woman’s left, probably indicating the loss of a husband and father.
Condition
This portrait is a tintype, originally housed in a small square hinged keepsake case. At one time it was overlaid with an oval-shaped preserver, similar in purpose to the matting used in photographs today. It is possible that the oval was chosen so as to hide what appears to be a fingerprint on the funerary urn. The preserver itself caused damage, and there are numerous other scratches, blemishes, and discolorations throughout.
My Process
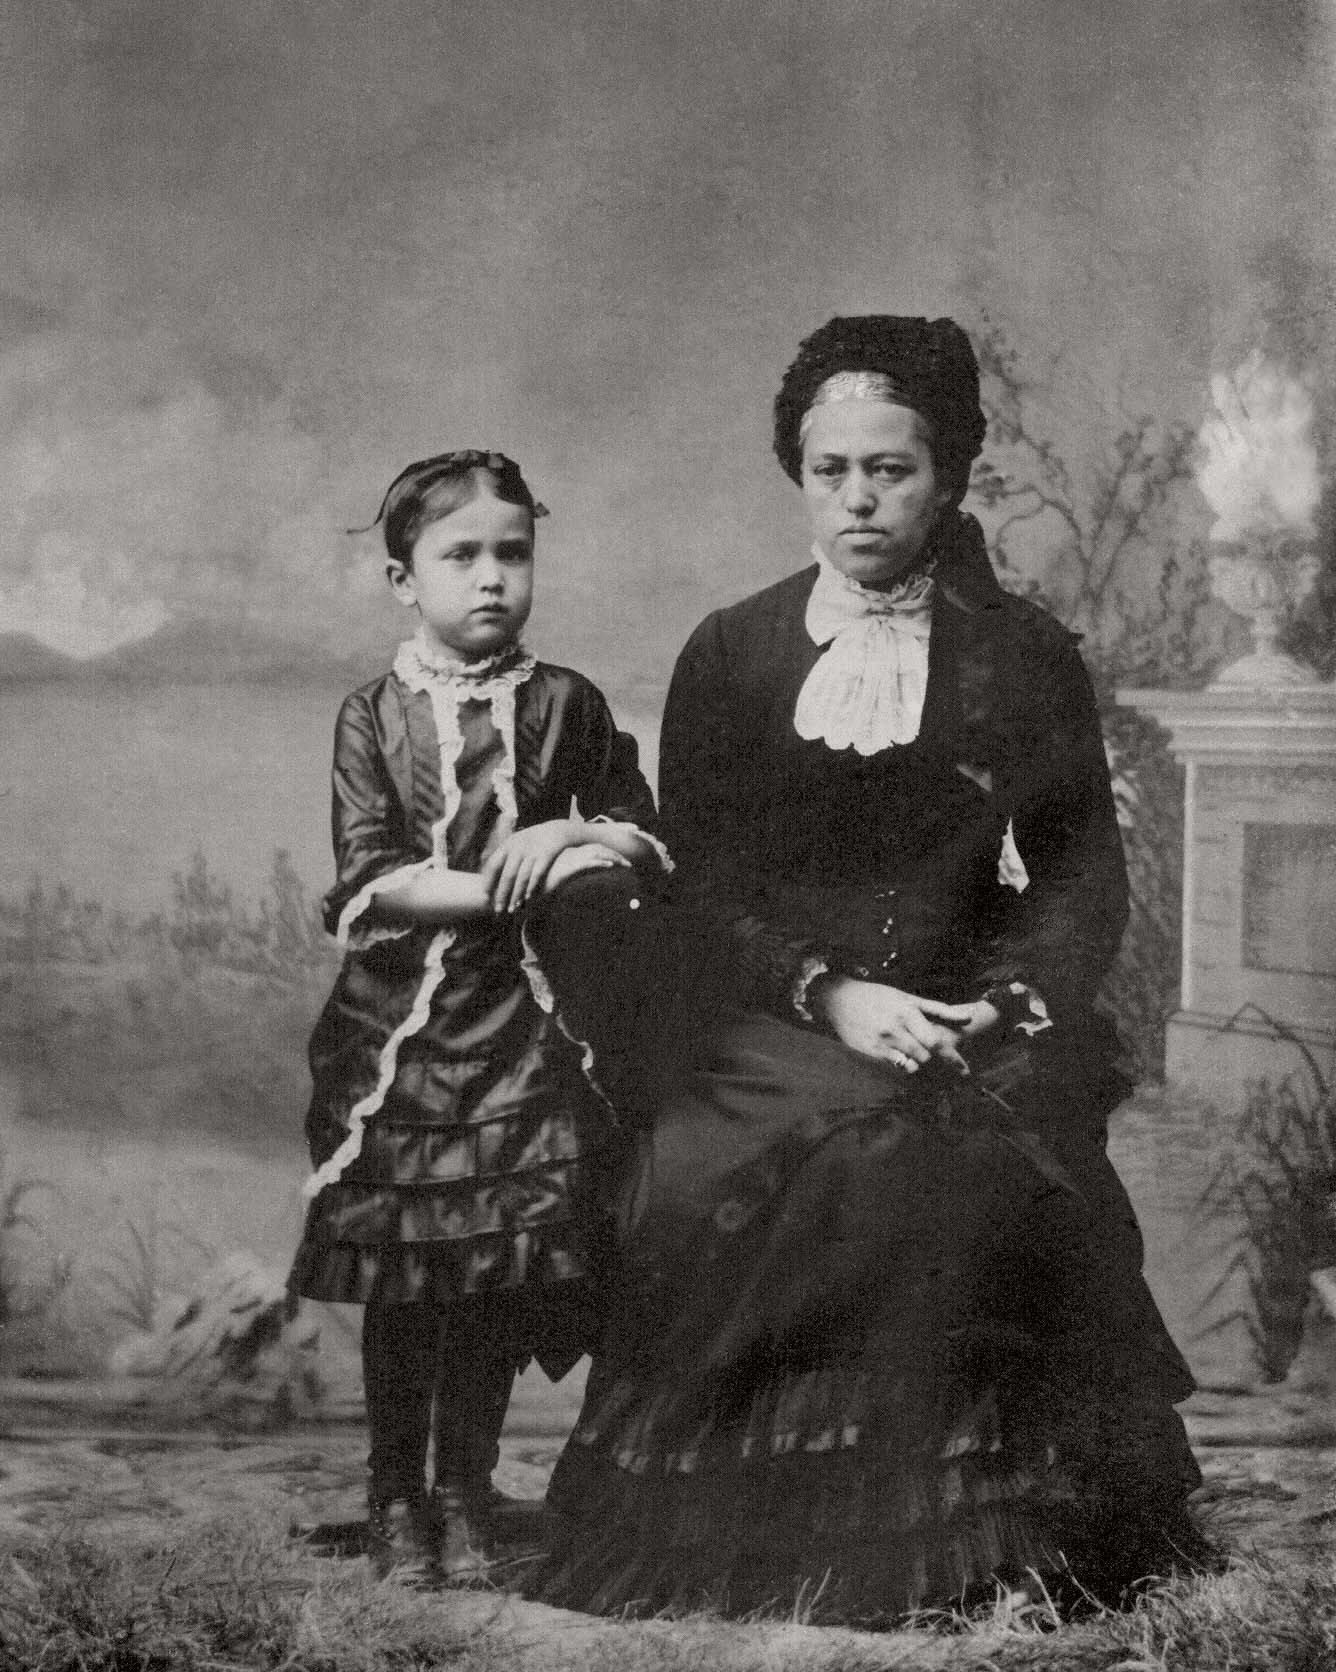
I began by cropping the image, thus eliminating a bit of the edge discolorations. I used the Channels to determine which - RGB, red, green, or blue - showed the least amount of scratches, dust, etc. Selecting the red channel, I shifted the image to grayscale, and added a Levels adjustment layer to help clear up the tone of the image. I then created a duplicate base layer for the healing process, and enabled the Sample All Layers and Proximity Match capabilities.

Using a small, hard Spot Healing Brush, I magnified the image and dabbed at specks and drew on scratches, working all around the mother and daughter, one quarter of the image at a time, adjusting the brush size as necessary. I used the Clone Stamp to remove dark discolorations, replace grass at the little girl’s feet, hide the damage from the preserver, and attempt to heal the urn. I was not as successful with the urn, but it does look better than it did. Next, I created a Surface Blur layer to smooth the image, returned the image to RGB, flattened the layers, and created a last Color Fill layer, selecting an amber rose at 5% opacity to warm the image just a bit.
Colorizing and A Vignette
I chose to focus on the little girl. She must be about seven or eight years old in this portrait. I love her serious gaze and slightly furrowed brow, and I wonder what she thought and felt at this time.
My Process
Cropping her out of the image, I used the Lasso tool to select the individual elements - hair, dress, skin, etc. I next created individual layers of Color Fill for each of these selected elements and applied color at 20% opacity. I thought she needed a frame, so using Stroke, I added a dark gray edge.
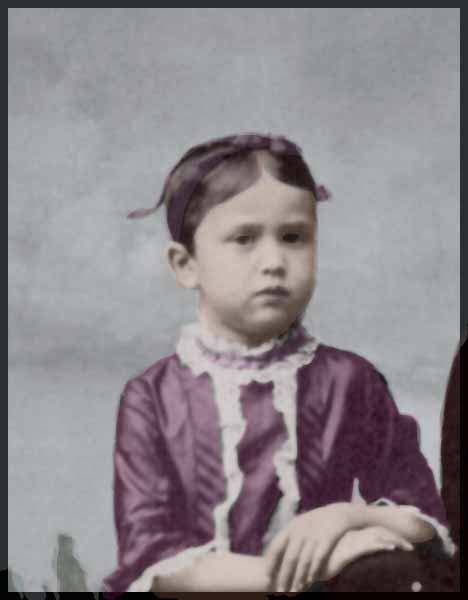
For the vignette, I worked from the uncolorized final image and using the Elliptical Marquee tool, I selected her face and the tops of her shoulders. Then I selected the inverse of the image and created a white Color Fill layer. Lastly, I applied a Gaussian Blur at 50 pixels and cropped the vignette.

The Wyoming Monument
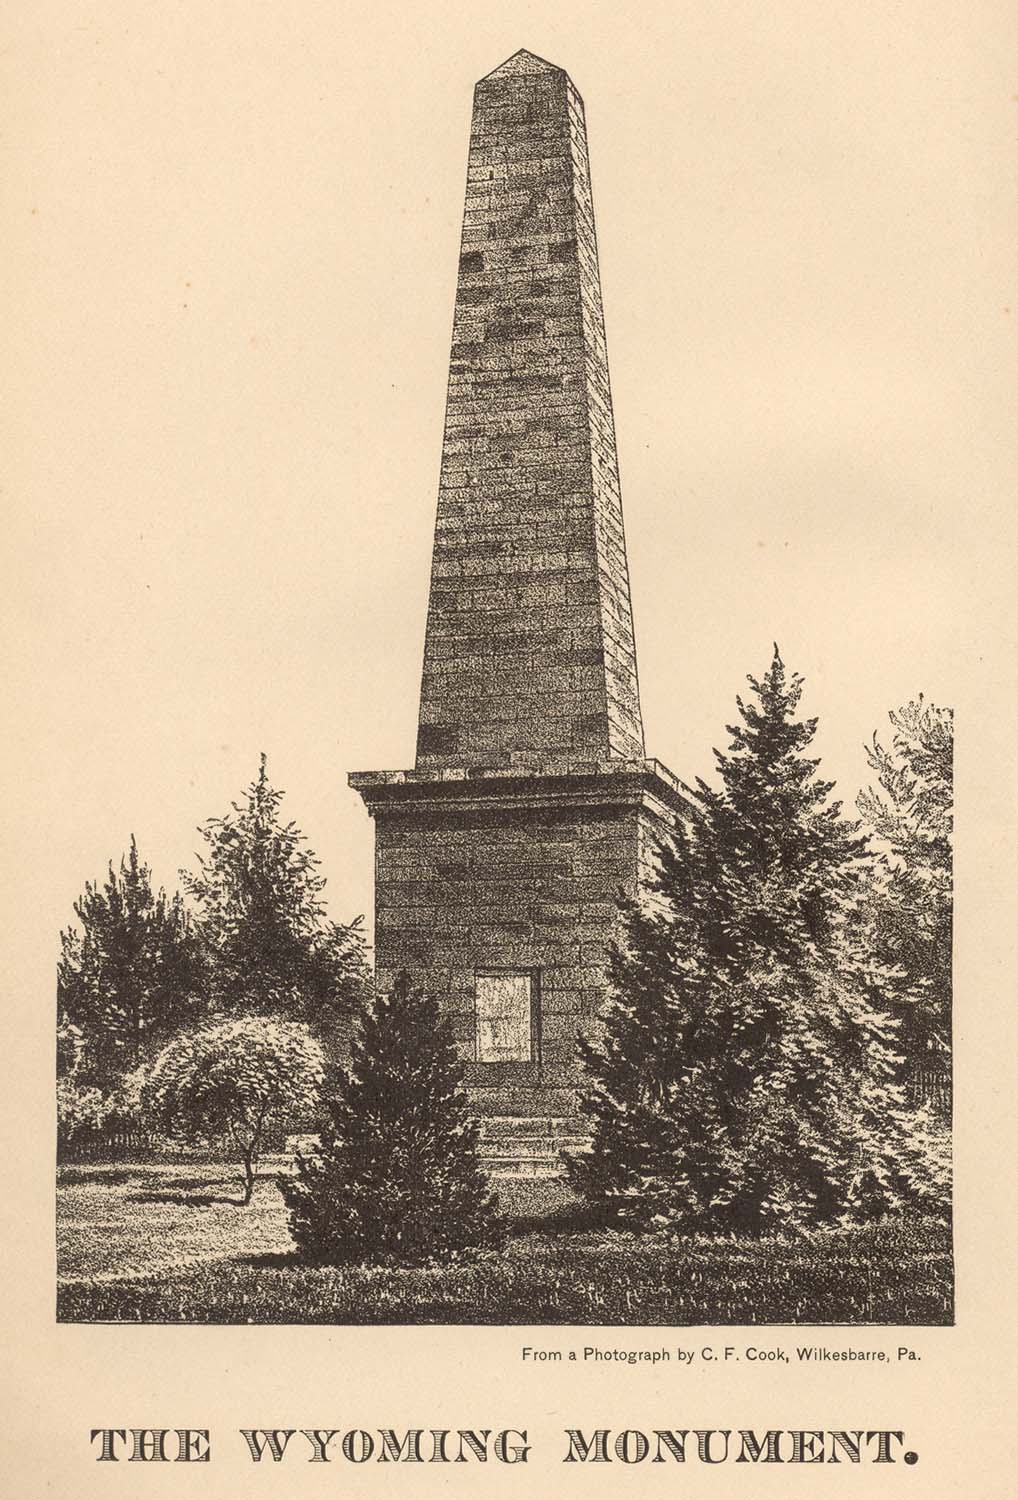
This is an 1882 engraving, from an 1878 photograph, of the monument in Wilkes-Barre, Pennsylvania, erected as a memorial for the settlers who fought and died in the Battle of Wyoming, 3 July 1778. The engraving was printed in the commemorative album published after the centenial of the battle in 1878. I thought I would colorize it, too.
Condition
Not bad, really. I believe the paper was originally cream-colored, but it has aged pretty well.
My Process
I began by cropping the image, squaring it off along its borders. I then created my base layer, a transparent layer, a white Color Fill layer, and adjusted the levels to eliminate most of the brown. With the Lasso tool, I traced each tree and bush, the fence, grass, sky, and monument, saving each element as it's own Selection. I then loaded each selection into its own Color Fill layer, adjusting opacity to between 20 and 40%, depending on the shade I was using. Lastly, I created a Gradient Fill layer at 30% opacity, just to add a bit of drama, and using Stroke, added a dark gray frame.
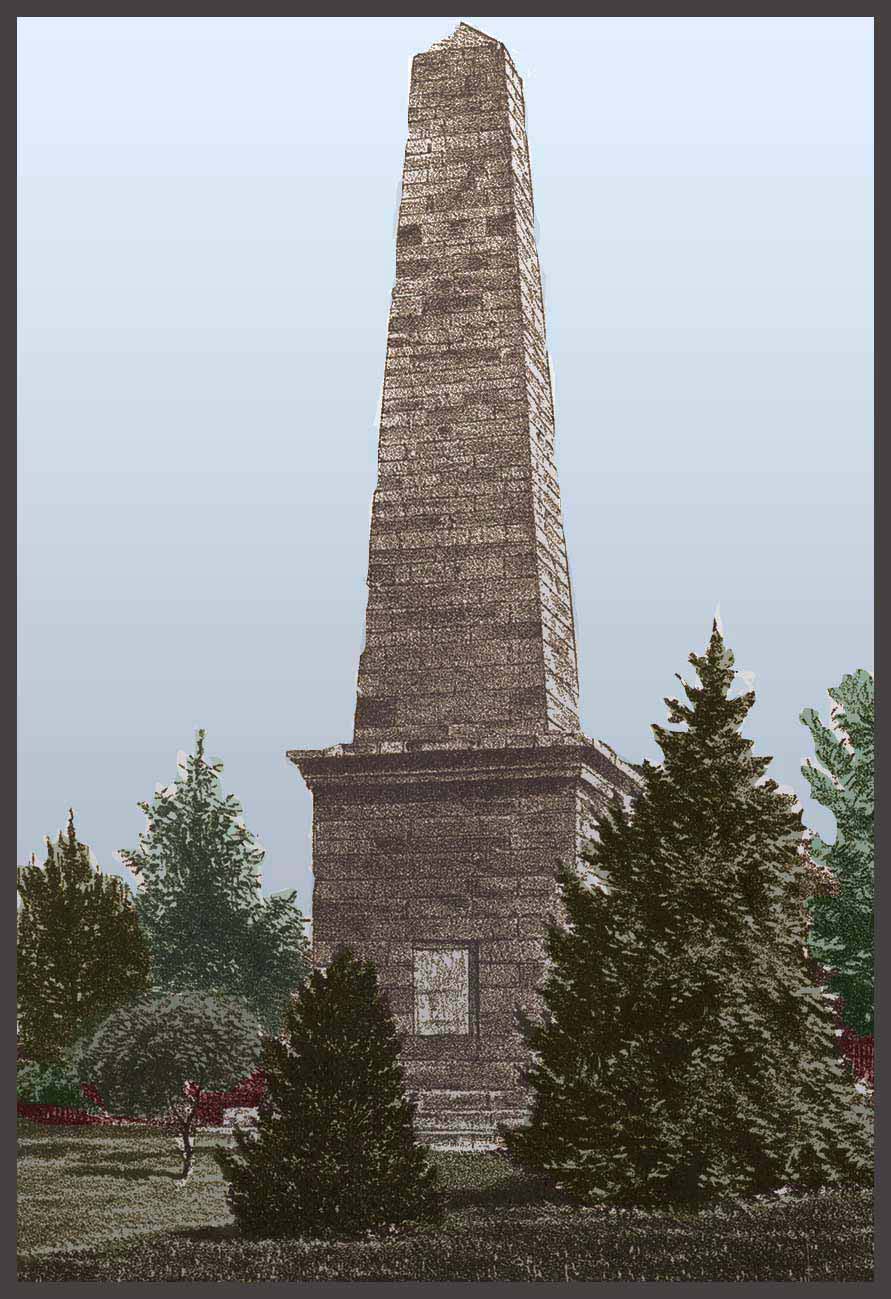
I learned recently that the monument was struck by lightening. Or rather, the lightening hit a flagpole nearby, then traveled to the monument, and down to the brass plaque, visible in the engraving, shattering it. The monument had never, in its entire history, been struck before. Repairs are in progress and the final plans do include lightening rods.